- Published on
How to Install Doom Emacs on a Macbook Pro
- Authors

- Name
- Joseph Dubon
…or How I Learned to Stop Worrying and Keep a Dev/Engineer Journaling System
Painting is just another way of keeping a diary
Pablo Picasso
I love that quote.
I love the implication.
If painting is just another way of keeping a diary, then is it safe to assume that keeping a diary is just another way to paint?
I believe so!
As a programmer one of the best tools you can have in your box-o-tools is a journal/dev-log and a healthy writing habit.
Let me walk you through how to setup my recommended journaling system on your machine.
I use Emacs with Doom Emacs sprinkled on top as a beautiful and functional layer. I think this is one of the best ways you can keep a journal using your computer.
My Development System
2021 MacBook Pro 16
- M1 Pro Chip
- 16GB Memory
Let's Get Started
Install Emacs.
- There are many ways to get this done
- This is the method I have had the best luck with
Do you have Homebrew installed?
Install Homebrew
/bin/bash -c "$(curl -fsSL https://raw.githubusercontent.com/Homebrew/install/HEAD/install.sh)"
Install Emacs Plus
brew tap d12frosted/emacs-plus
then
brew install emacs-plus --with-native-comp --with-modern-doom3-icon --HEAD
Install Doom Emacs
git clone --depth 1 https://github.com/doomemacs/doomemacs ~/.emacs.d
~/.emacs.d/bin/doom install
Add Doom to $PATH
Add this to your .zshrc file
export PATH="$HOME/.emacs.d/bin:$PATH" #Doom Emacs
Sync Your New Doom Config/Install
Run this in the terminal
doom sync
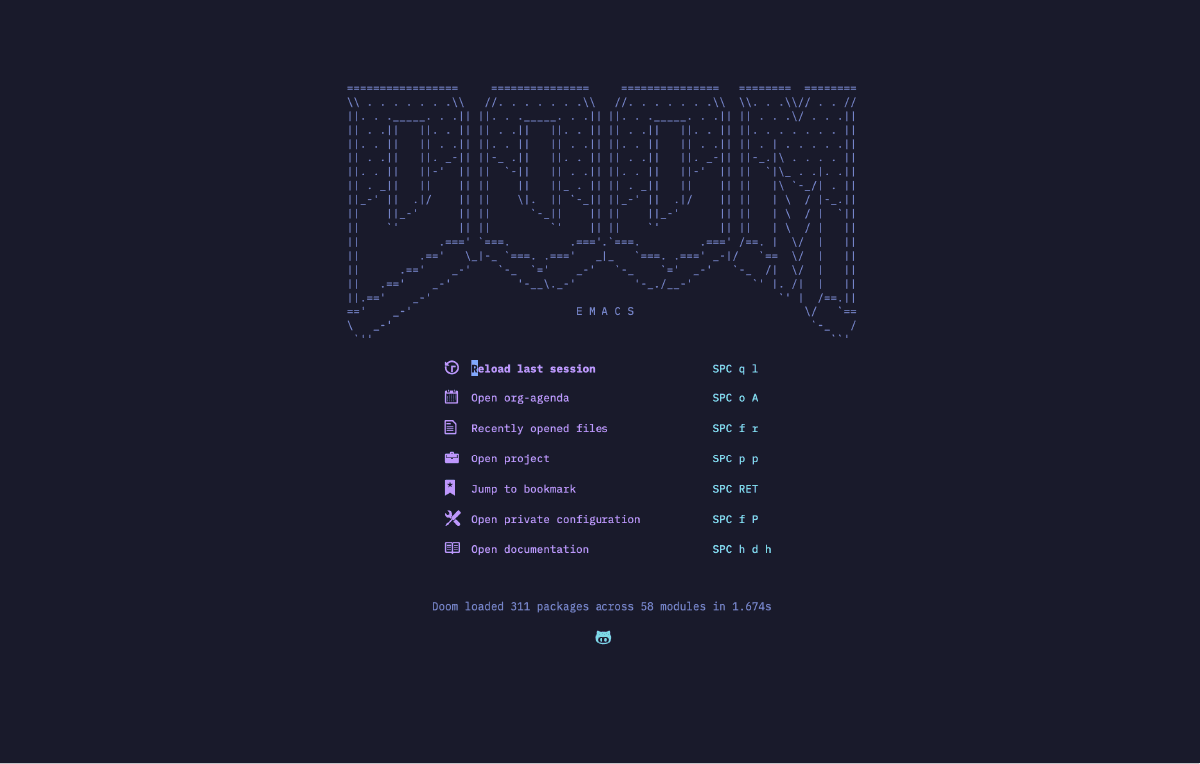
That's It!
Open Doom Emacs
emacs
COMING SOON
Part 2.
- How to Use Doom Emacs with Org-Mode
- Org-Roam2
- For a Developer/Engineering Journal
- Org-Journal
- For a Personal Journal
- Org-Roam2